The two bookings
A teaching business has to take two different bookings, and most websites only attempt the first badly.
The trial is a single appointment. Low commitment, chosen quickly, often in the evening, and it needs to be two taps from wherever the visitor is reading.
The enrolment is a recurring weekly slot for a term or a rolling month, with payment collected on a schedule and a place held in a register. It is the actual business, and it is agreed after the trial.
Setting up the path between them is a day of configuration and a page of writing, and it is the difference between a site that collects enquiries and one that fills a timetable.
Step 1: pick the tool that owns the recurrence
The website is not the booking system. Choose the platform that will hold the recurring lessons, the register and the billing, then build the site around it.
One to one, with lesson records and invoicing: TutorBird, My Music Staff or Teachworks. Trials with payment at booking: Acuity. Terms, registers and waitlists for children's classes: ClassForKids, or TeamUp for classes and memberships. Course catalogues with dated intakes: Arlo, which is the usual answer for language schools and adult education.
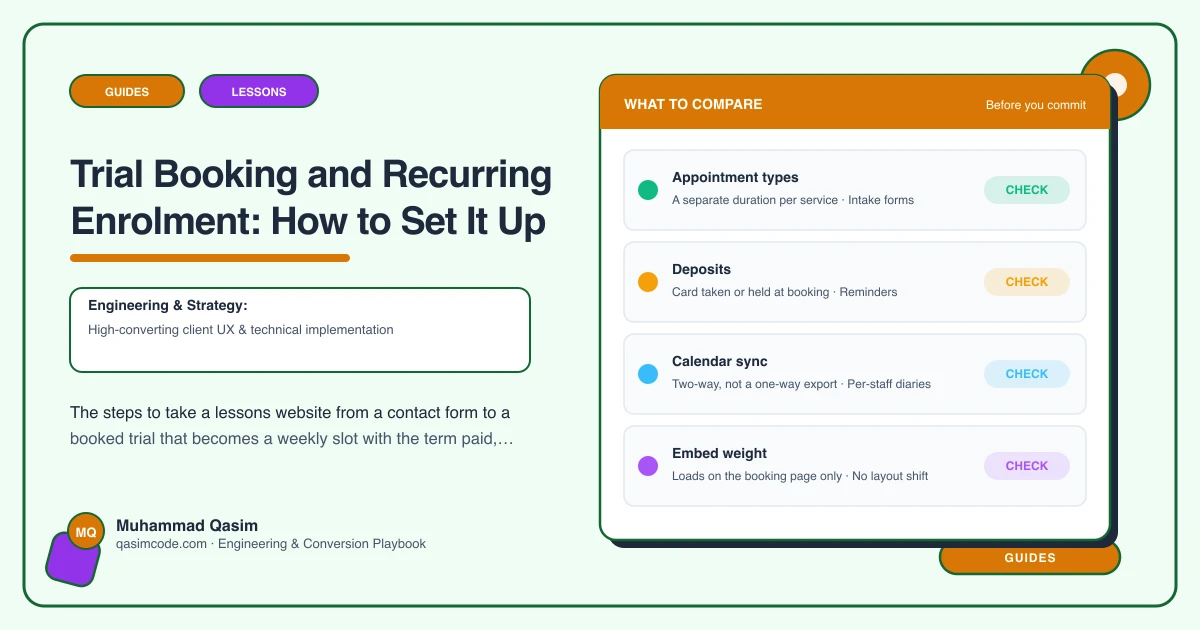
Before committing, confirm four things with the vendor: can it hold recurring weekly lessons, can it bill by term or by month, can a waitlist be run, and what can be embedded or deep-linked into your own site.
Step 2: define what a trial is
Write it down before you configure anything.
- Length, and whether it differs from a normal lesson.
- Fee, discounted fee, or free. Decide and state it.
- Where it happens: your premises, the student's home, or online.
- Which teachers offer trials, and on which days.
- What you need at booking: name, contact, student age or level, subject.
- What you do not need yet: address, school, emergency contact, medical notes. Those belong to enrolment.
Keep the trial form to five fields. Every extra one loses bookings at the moment the visitor was ready.
Step 3: put the trial in the site, not beside it
Add a Book a trial button in the header on every page. Then repeat it in three more places: the bottom of every subject or instrument page, every teacher profile, and every row of the timetable.
Deep-link where the tool allows, so the subject, level or teacher carries through from the page the visitor was reading. Ask your vendor which URL parameters they support; most scheduling tools have a documented way to preselect a service or a staff member.
Load the booking embed on interaction rather than on every page, so the widget does not slow down pages nobody books from.
Step 4: confirm and remind
The confirmation should carry the time, the teacher, the address or the joining link, the lesson length, what to bring, and one sentence about what the first lesson involves. Then a reminder the day before from the tool. Most trial no-shows are forgotten appointments, and a reminder recovers a good share of them.
Step 5: write the enrolment page
This is the page most teaching sites do not have, and it is the one that answers the real decision. Four short sections.
How enrolment works. Trial, agreed weekly slot, place confirmed, first payment. Four steps, numbered.
What a term includes. The number of lessons, the dates, what happens in half terms and holidays, and any showcase, recital or exam window.
Payment. Termly in advance or monthly, when it is taken, what method, and what happens if a payment fails.
Policies. Notice period to stop, missed lessons, teacher absence, late arrival, and how a slot is changed. Write these plainly. A family reading them before enrolling is a family that will not be arguing about them in March.
Step 6: wire the conversion
After a good trial, the family should be able to confirm without an email chain. Two workable patterns, depending on the tool.
Enrol in the tool. Send the family a link to a recurring booking or a course registration with the slot already chosen, and payment collected at confirmation. Cleanest where the platform supports it.
Confirm, then set up. You hold the slot, take the enrolment details on a short form, and set up the recurring booking and billing yourself. More manual, but reliable in every tool.
Either way, agree who does the follow-up and do it the same day or the next morning, while the lesson is still fresh.
Step 7: waitlists and full classes
A full class that shows no route in wastes the traffic that found it. Publish a waitlist on every full class row, capture the same five fields, and say roughly how the list moves. Swimming lesson providers and coding clubs run most of their intake this way, and a working waitlist is often worth more than another marketing channel.
Step 8: measure it
Track three events with the page as a parameter: trial booked, enquiry submitted, enrolment confirmed. Then look at the ratio between them each month. Trials without enrolments points at the follow-up or the enrolment page. Enquiries without trials points at a booking button that is too hard to find.
Where this sits
Wiring the trial into every subject page and teacher profile, then writing the enrolment page that turns the trial into a term, is the core of what we build into education and lessons websites. The platform holds the recurrence. The site's job is to get the family to it in two taps and to answer everything they would otherwise have emailed to ask.