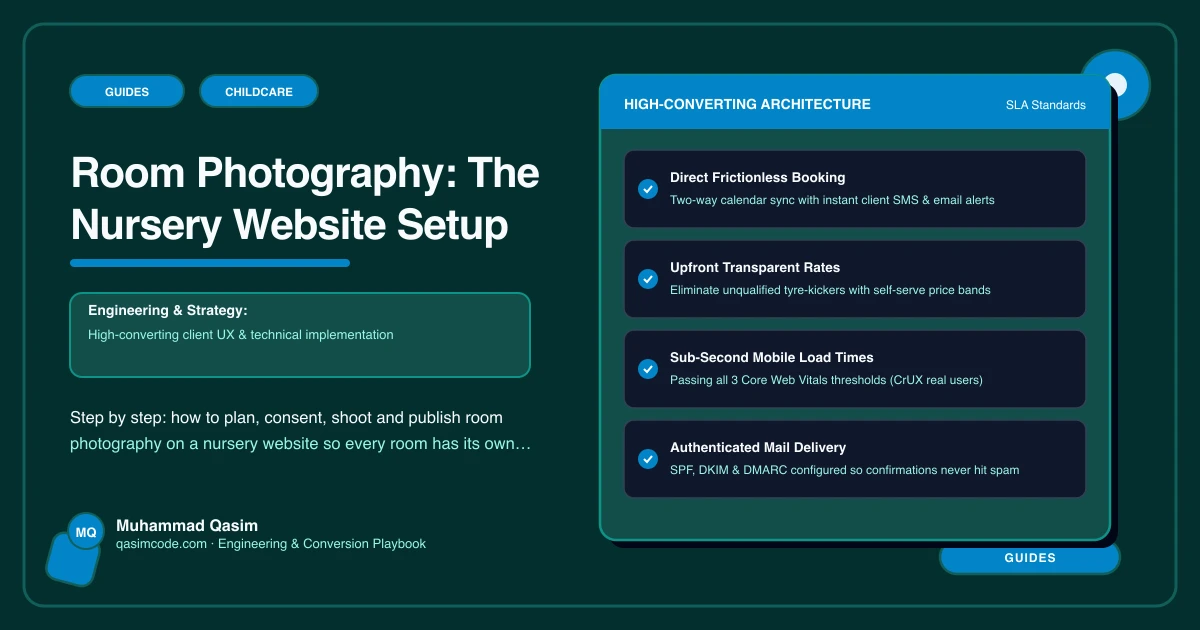
What we are building
Not a gallery. A set of room records, each holding its own images, so the baby room page shows the baby room and can be updated by a manager after a repaint without touching a designer. Ten steps, from the consent register to the speed test.
1. Settle consent before you pick up a camera
Any child who is identifiable in a published photograph needs recorded written consent from a parent, with a clear route to withdraw it, and your safeguarding policy decides what may be published at all. Website publication is a different question from the parent app, so check that your consent wording covers it rather than assuming.
The approach most nurseries settle on is simpler than managing a consent list: shoot rooms empty or at nap time, and show staff rather than children. Where children do appear, from behind or out of focus keeps it straightforward. A parent wants to see the room and the people who work in it.
Get staff consent in writing too, with a note of what happens to a photograph when someone leaves.
2. Write the shot list before the day
One list per room, agreed with the room leader, so nobody is improvising with a camera in a nursery. Wide shot from the doorway. Sleep area. Eating area. Two or three play zones. The view to the garden. The changing and hygiene area, clean and stocked, because parents look. Detail shots of artwork, name pegs and planting, which give a page warmth without needing faces. And the room leader doing something ordinary.
Aim for eight to twelve usable images per room and shoot more.
3. Pick the hour
Before opening or during afternoon nap, when rooms are tidy and quiet. Daylight with the room lights on as well, so nothing reads as gloomy. A dry day for the garden. Half a day covers a four-room nursery and its outdoor space if the list is written in advance. Book it when the manager can be off the floor.
4. Shoot the garden and the arrival route
The outdoor space gets its own set: wide shots from two ends, the climbing or ride-on area, the mud kitchen or sand, the planting, the covered area for rain, and the gate with its security. Then the practical shots parents need before a first visit: the front door as they will approach it, the buggy store, the signing-in point, and the parking or drop-off. Those belong on the Contact and Book a viewing pages, not in a gallery.
5. Choose the hero for each room
One image per room page that is the first thing loaded and the first thing seen. Usually the wide shot from the doorway, because that is how a parent will first see the room in real life. Pick it before you start processing, because it is treated differently from the rest.
6. Model the images as part of the room record
This is the step that separates a nursery site from a template. Each room is a record with fields: name, age band, ratio, leader, availability line, body text, hero image, and a gallery. The images belong to the room, not to a site-wide media page. When the toddler room is repainted, a manager opens the toddler room record, swaps six images, saves, and the page and the rooms index both update.
If your site cannot do that, everything below still helps, but you will be paying someone each time a room changes.
7. Process for the layout, not for the archive
Export at the widths the layout actually uses, roughly 1600 pixels for a hero and 800 for a gallery tile, then compress and let the site serve modern formats. Straight off a camera or a recent phone, a single image can be several megabytes; a room page with twelve of them is a page nobody waits for on mobile data during a night feed.
8. Write alt text and file names as you upload
One line per image describing what is in it. "Baby room sleep area with six cots and blackout blinds" serves a screen reader and search equally. File names the same: baby-room-sleep-area, not IMG_4471. Do it at upload, because nobody ever goes back and does it later.
9. Place them, then load them properly
Hero at the top of the room page. The rest as a captioned gallery below the age band, ratio and leader. One photograph per stage on the day-in-the-life page. Portraits on the team page, same framing for everyone so it reads as a team. The garden set on its own page and on the home page. The arrival shots on Contact and Book a viewing.
Then the mechanics: prioritise the hero, lazy-load everything below the first screen, reserve the space each image will occupy so the page does not jump while a parent is reading, and keep any walk-through video off the critical path.
10. Test, then set a review date
Open the heaviest room page on a phone, on mobile data, in a private window, and time it from tap to fully loaded. Over about three seconds, go back to step seven. Then put a date in the calendar: reshoot a room when it changes, the garden each spring, and staff portraits when the team changes. Drop the new images into the same records.
What to avoid
Stock photographs, which parents recognise instantly. Heavy filters and wide-angle distortion that make the viewing a disappointment. Clutter or a safety hazard in shot. A room staged so tidily no child could play in it. Any face without recorded consent, and anything showing a child's full name.
Where this sits
Room photography planned around consent, shot to a list and published as part of an editable room record is included in every nursery and daycare website we build, and the same setup runs through the other childcare websites we work on. The half day of photography is usually the best value item in the project. A parent decides whether to book a viewing while looking at your baby room, so make sure it is yours they are looking at.